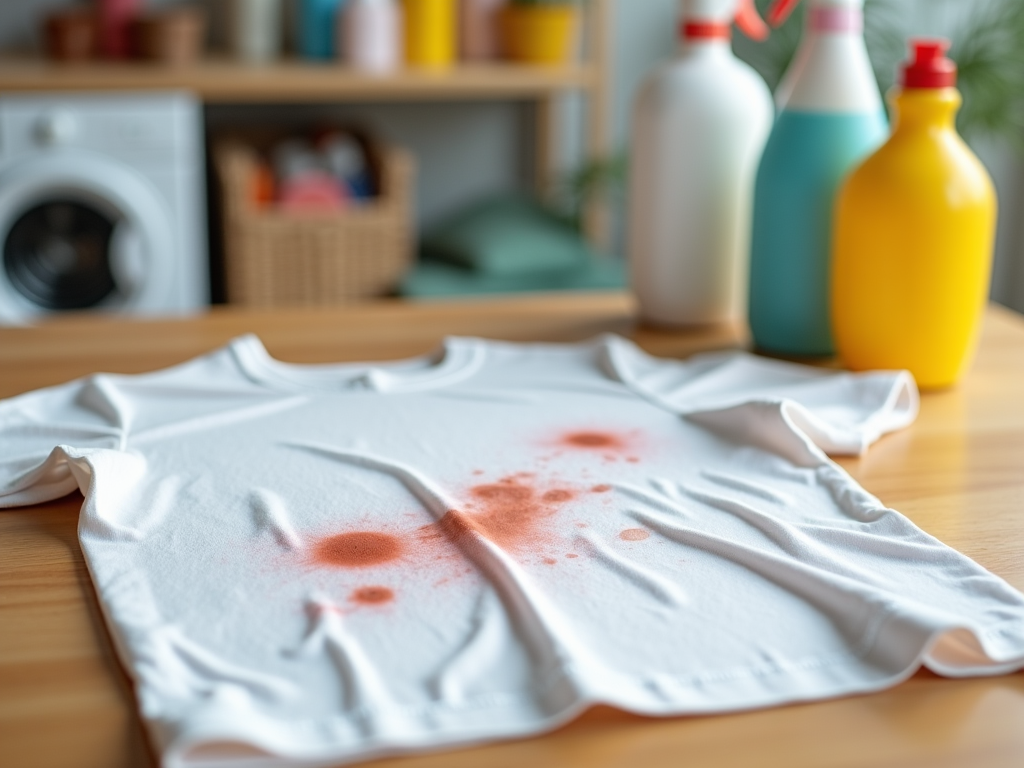
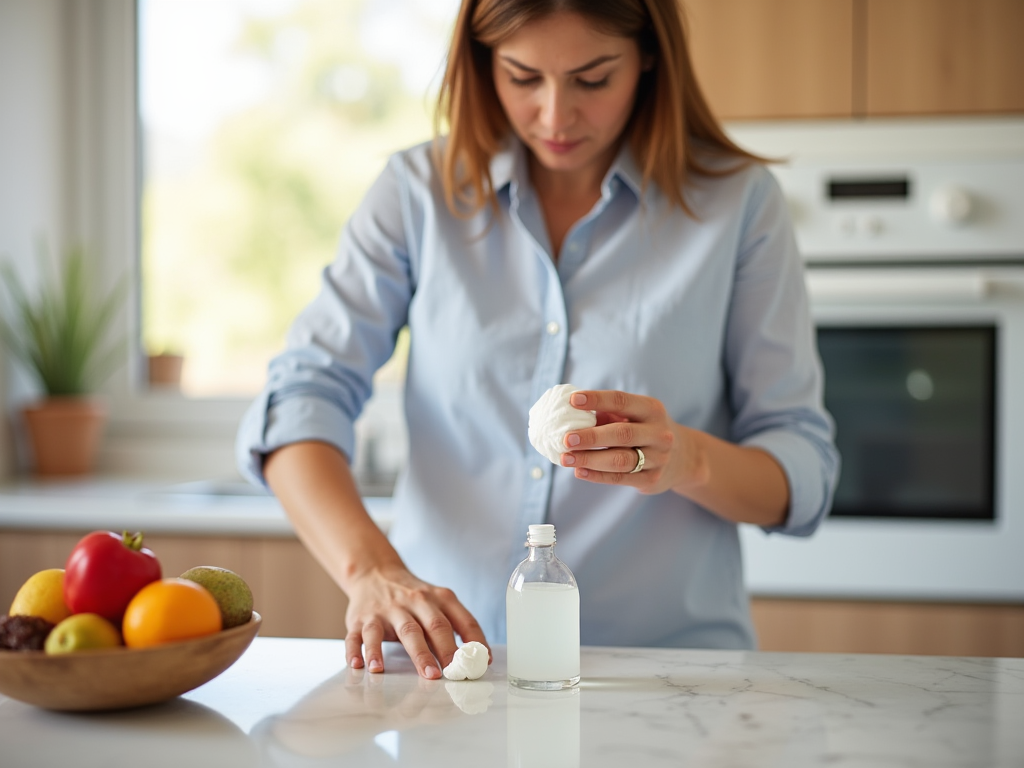
We’ve all been there—you’re at dinner, enjoying your meal, when suddenly, a mishap occurs, and before you know it, your shirt has an unwanted stain. The immediate panic sets in as you face the grim reality that your favorite garment might be doomed. Fortunately, with the right approach, a stain doesn’t have to spell disaster for your wardrobe. Different types of stains require specific treatments, and knowing how to tackle them can make a world of difference. The key to effective stain removal is understanding the type of stain, acting quickly, and following the proper laundry guidelines. Armed with this knowledge, you can confidently tackle any shirt stain like a pro.
Understanding Different Types of Stains

When it comes to shirt stains, the first step is to identify the type of stain. Not all stains are created equal; their nature determines how you should deal with them. Here’s a breakdown of common stains you might encounter:
- Food and Beverage Stains: These vary widely, ranging from oil-based dressings to water-based beverages like juice or coffee.
- Ink and Dye Stains: Often caused by pens or color transfer from other fabrics, these can be particularly stubborn.
- Biological Stains: Sweat, blood, and grass stains fall into this category, each requiring unique treatment methods.
Immediate Steps to Take

If you’ve just stained your shirt, maintaining a level head is essential. Quick action can be your best ally in preventing permanent damage. Begin by moving away from the food or beverage that caused the mess, and take a moment to assess the situation. Remember to act fast, as the sooner you address the stain, the better your chances of successful removal. Use a clean cloth or paper towel to blot the stain gently—this will help absorb excess liquid without spreading it further. Avoid rubbing the stain, as this can push the material deeper into the fibers of the fabric and make it tougher to remove.
Treatment Techniques Based on Stain Type
Once you’ve identified the type of stain, apply the appropriate treatment method. Tailoring your approach is crucial for maximum effectiveness. Here are some strategies for different stain types:
Food and Beverage Stains
- Oil-based stains: Use cornstarch or baby powder to absorb the oil. Let it sit for about 15 minutes before brushing it off carefully.
- Water-based stains: Rinse the back of the fabric under cold water to push the stain out. This is especially effective for juice or coffee stains.
Ink Stains
The longer an ink stain sits, the harder it can be to remove. Act quickly by dabbing rubbing alcohol onto the stain with a cotton ball, and then rinse with cold water. This method is usually effective for most ink types, but be cautious with delicate fabrics.
Biological Stains
- Pre-treat with cold water: Rinse stains such as blood or sweat with cold water to prevent them from setting.
- Use hydrogen peroxide: A mixture of hydrogen peroxide and dish soap can work wonders on these types of stains.
Washing Your Shirt
After treating the stain, it’s time to tackle washing. How you wash your shirt can greatly influence the final outcome. Firstly, always check the care labels on your garments, as this will guide you on the best washing practices. Use cold water, as hot water can set a stain permanently, making it almost impossible to remove later. Furthermore, avoid using the dryer until you are sure the stain is completely gone. The heat from the dryer can cause any remnants of the stain to set, potentially ruining your garment.
| Type of Stain | Immediate Treatment | Washing Tips |
|---|---|---|
| Food and Beverage | Blot with a tissue, rinse with cold water | Cold water wash, air dry |
| Ink | Dab with rubbing alcohol | Cold water wash, check before drying |
| Biological | Rinse with cold water or use hydrogen peroxide | Cold water wash, air dry |
Dealing with Stubborn Stains
Some stains defy easy removal and require extra effort. If the stain persists after your initial treatment, don’t lose hope! Sometimes, you may need to repeat the process several times to see results. If you’re still having trouble, consider using a commercial stain remover that’s compatible with the fabric. Always spot-test any new product on an inconspicuous area before applying it to the stain.
Conclusion
Stains can be a common nuisance, but they don’t have to spell disaster for your favorite shirts. By acting quickly and applying the correct treatment based on the type of stain, you enhance your chances of success considerably. Always remember to check care labels when washing, as this ensures you’re following the guidelines tailored for your garment. With diligence and the right techniques, you can restore your clothing’s appearance and extend its lifespan, keeping your wardrobe looking fresh and clean.
Frequently Asked Questions
- Can I use bleach on all stains? No, bleach can damage certain fabrics and may not be effective on all types of stains. Always check fabric care labels first.
- What if my shirt still has a stain after washing? Avoid drying the shirt; instead, try repeating the stain removal process or using a commercial stain remover.
- Are there any home remedies for stain removal? Yes, options like white vinegar, baking soda, and lemon juice can be effective in stain removal for various types of stains.
- Can I machine dry my shirt after a stain treatment? It’s best to air dry your shirt until you’re certain the stain is completely gone, as the heat from the dryer can set any remaining stain.
